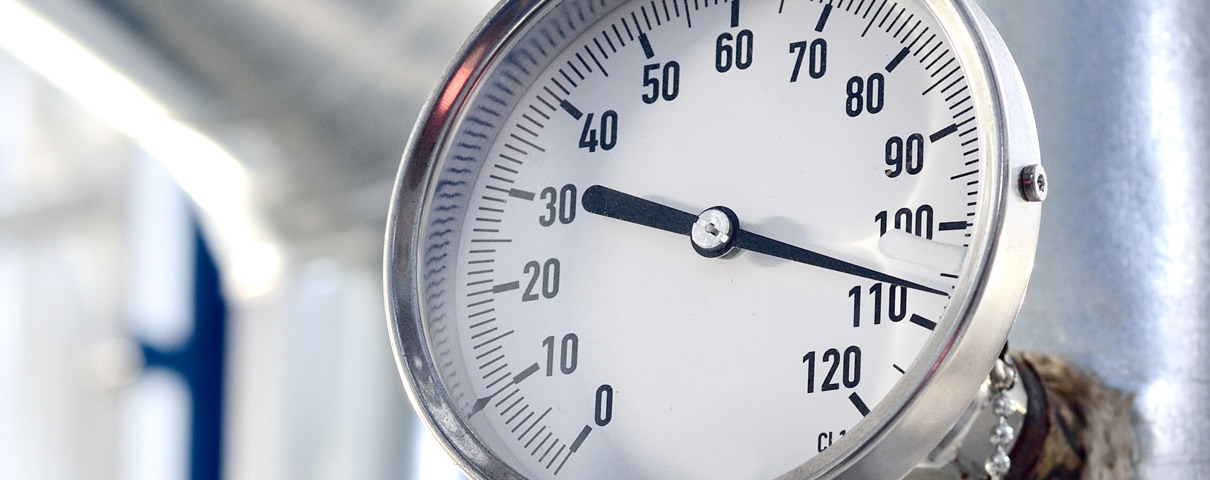
Are your gauges installed properly? WIKA’s FAST team of audit experts knows that all too often this isn’t the case. Improperly installed gauges can lead to premature gauge failure and prevent you from troubleshooting issues with equipment or processes. Don’t let this happen at your plant. Use these six tips for proper gauge installation.
1. Select the Right Gauge
Before you pull out a wrench, first make sure you have the right type of gauge for the application. The pressure gauge you choose must be the correct one for the:
- Expected pressure range to be measured. The selected range should be double the operating range.
- Process media compatibility.
- Process temperature
- Severe operating conditions (e.g., vibrations, pulsations, pressure spikes).
However, even if you install the gauge perfectly, you could face the same problems you had before the installation if the gauge isn’t the right one for the job.
2. Apply Force on Wrench Flats
Once you’ve chosen the correct gauge, pay attention to how you install the gauge. Rather than turning the case by hand, use an open-end wrench and apply force to the wrench flat. Applying the force through the case could damage the case connection as well as the gauge internals. Not applying sufficient torque could result in leaks.
3. Seal the Deal
Notice the type of threads on the gauge before you seal it. If the gauge has parallel threads, seal it using sealing rings, washers, or WIKA sealing rings (crush rings). If the gauge has tapered threads, additional means of sealing, such as PTFE tape, are recommended. This is standard practice for any pipe fitter because tapered threads do not provide complete sealing on their own.
4. Use a Clamp Socket or Union Nut with Straight Thread
When tapered threads are used, the installer has the luxury of adjusting the gauge even after sufficient torque has been applied. This allows for convenient orientation of the gauge face. However, with straight threads the face orientation is not adjustable once it bottoms out. For that reason, we recommend using WIKA sealing rings (crush rings) instead of flat washers. The WIKA sealing ring allows you to correctly orient the gauge after the socket has been seated on the sealing ring. You start by tightening the gauge by hand. As soon as you encounter a resistance, apply an open-end wrench to the wrench flat and continue turning the gauge. At this point you have approximately one turn left to put the gauge into the desired position.
5. Leave Space for Blow-out
For personnel safety, some gauges come with a safety pattern design consisting of a solid wall between the front of the gauge and the Bourdon tube, and a blow-out back. In the event of a pressure build-up inside the case or a catastrophic Bourdon tube rupture, all the energy and release of media will be directed to the back of the gauge, thus protecting the people reading the gauge. In order for the safety device to function properly, it is important to keep a minimum space of 1/2 inches. WIKA XSEL® process gauges come standard with integrated pegs to insure this distance when mounting the gauge against a surface.
6. Vent the Gauge Case
Some gauges come with a small valve on top of the case. Users who don’t understand the purpose of the valve are confused about why it’s included. During shipment, liquid-filled gauges can go through temperature changes that create internal pressure build-up. This can cause the gauge pointer to be off zero. When installing the gauge, open the compensation valve to allow this pressure to vent. It should then be closed again to prevent any external ingress. After you mount the gauge, set the compensating valve from CLOSE to OPEN.
A pressure gauge can do its job only if it’s installed properly. Whether you’re an operator or a maintenance technician, use these tips for proper gauge installation to make sure your gauges perform as they should. Contact WIKA’s technical support team if you have questions about properly installing gauges.

